
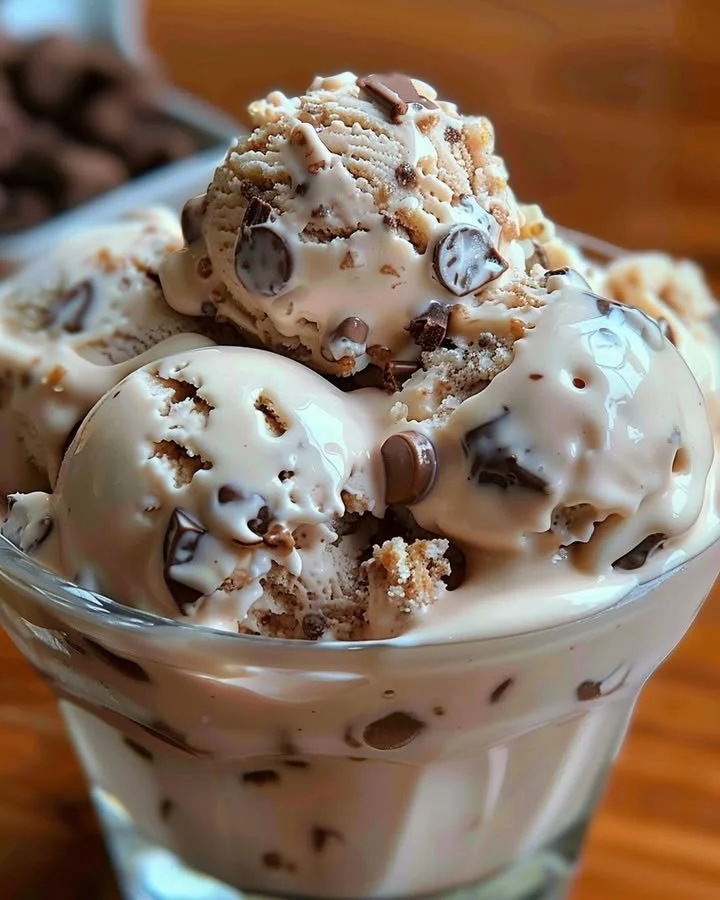
Rocky Road Ice Cream
When you think of indulgence, Rocky Road Ice Cream immediately comes to mind. This delightful treat dances across your palate like a sweet symphony, blending rich chocolate, airy marshmallows, and crunchy nuts into a harmonious medley. Each bite offers a luscious, creamy texture that envelops your senses. The fragrant vanilla lingers, teasing your taste buds and evoking memories of summer evenings spent with loved ones. In this recipe, you will learn to create this classic dessert with a step-by-step guide that will fill your kitchen with warmth and joy.
History / Fun Fact
The story of Rocky Road Ice Cream is a sweet tale that dates back to the 1920s in the United States. It’s said to have originated during the Great Depression when ice cream makers sought to create a treat that would lift spirits and bring smiles to faces. The combination of chocolate ice cream, nuts, and marshmallows offered a delightful mix of textures and flavors, embodying a sense of adventure despite the hardships of the era. This playful treat quickly became a beloved favorite, inspiring families to share laughter and happiness, one scoop at a time.
Ingredients
To create the perfect Rocky Road Ice Cream, you’ll need a handful of simple yet sumptuous ingredients that promise to awaken your taste buds. Begin with 2 cups of heavy cream, which provides a decadent, creamy base; this ingredient transforms your creation into a luxuriously rich experience. Add 1 cup of whole milk, lending a smooth silkiness, and 3/4 cup of granulated sugar, which sweetens the mixture beautifully. A teaspoon of aromatic vanilla extract elevates the flavor, infusing the ice cream with its comforting essence.
Incorporate 1/2 cup of chocolate chips, adding bursts of rich cocoa flavor, and 1/2 cup of mini marshmallows, which introduce a playful softness to the mix. Finally, choose 1/2 cup of chopped nuts—like almonds, walnuts, or cashews—to provide a satisfying crunch and nutty contrast. Each ingredient plays a significant role in creating a memorable treat that’s both satisfying and delightful.
Cooking Time & Tips For Rocky Road Ice Cream
When making Rocky Road Ice Cream, preparation time can vary based on personal preference. Quick preparation might lead to a soft-serve style, ready to enjoy in about 30 minutes, while a slow approach allows for deeper flavor development, culminating in a truly extraordinary frozen masterpiece. For the best results, consider chilling your mixing bowl and ingredients before combining; this ensures a smoother texture.
Another helpful tip is to let the ice cream maker do most of the work. Churning at the appropriate speed will help incorporate air, giving your ice cream that light fluffiness. Lastly, patience is key—allow your ice cream to freeze thoroughly, so it’s firm enough to scoop beautifully.
Step-by-Step Directions
Begin your Rocky Road adventure by preparing a mixing bowl, combining the luscious heavy cream, whole milk, granulated sugar, and fragrant vanilla extract. As you whisk the mixture together, watch the sugar dissolve, releasing that sweet aroma that makes your heart flutter with anticipation.
Once combined, it’s time to pour this heavenly blend into your ice cream maker. Set the machine to churn according to the manufacturer’s instructions—typically about 20-25 minutes will do the trick. As the ice cream begins to thicken, keep an eye on the clock.
In the last five minutes of churning, introduce the chocolate chips, mini marshmallows, and chopped nuts. As they mix in, you’ll witness the transformation from a creamy base to a delightful Rocky Road wonder, brimming with textures and flavors.
Once your ice cream reaches a soft-serve consistency, it’s time to transfer it into an airtight container. Ensuring your creation is sealed tightly is crucial, as this will lock in freshness while it freezes. Allow it to rest in the freezer for at least four hours or until it becomes firm and ready to scoop.
When the time comes to indulge, pull the container from the freezer and let it sit for a moment to soften slightly. Scoop out your homemade Rocky Road Ice Cream, relishing the textures and flavors as you enjoy each mound of pure happiness.
Serving Suggestions & Occasions
Rocky Road Ice Cream is the ideal companion for various occasions. Picture a summer barbecue, where this delicious dessert becomes the star attraction, delighting guests of all ages. Serve it in whimsical ice cream cones for kids or elegant bowls for adult gatherings. For an extra treat, consider drizzling chocolate or caramel sauce on top and garnishing with additional nuts or marshmallows.
It’s also perfect for movie nights, where each spoonful can evoke laughter and shared moments. Beyond special events, indulge yourself on a quiet evening to savor the moment, bringing a taste of joy to your routine.
Common Mistakes For Rocky Road Ice Cream
Creating Rocky Road Ice Cream is straightforward, but a few common pitfalls can detract from your masterpiece. One mistake is not ensuring the mixture is cold before churning; this can lead to an icy texture rather than the creamy softness you desire.
Another common error is overcrowding your ice cream maker; this hinders the air incorporation process, resulting in a dense final product. Always be cautious not to over-churn as well, as it can create an undesirable texture. Lastly, patience is crucial—skipping the freeze time before serving can lead to a soupy version of your beloved treat.
Healthier Alternatives & Variations
If you’re looking to lighten up your Rocky Road treat, there are plenty of healthy alternatives to explore. For a dairy-free option, consider substituting coconut cream for the heavy cream and almond milk for the milk. You can sweeten the mixture naturally with honey or maple syrup instead of granulated sugar.
For the mix-ins, try using dark chocolate chips, which provide antioxidants and a rich flavor without being overly sweet. You can also add fresh fruit, such as diced strawberries or banana slices, to brighten the flavor profile. Finally, for a nut-free variation, choose seeds like sunflower or pumpkin seeds to maintain the crunch while keeping the ice cream safe for those with allergies.
FAQs
Can I use a regular mixer instead of an ice cream maker?
You can, but it requires more manual effort. Regularly mix the ingredients in a bowl and transfer them to the freezer, stirring every 30 minutes until creamy.What if I don’t have mini marshmallows?
You can chop regular marshmallows into smaller pieces, or substitute with other chewy candy.How long can I store homemade Rocky Road Ice Cream?
If stored properly in an airtight container, it can last up to a month in the freezer.Can I mix in other ingredients?
Absolutely! Feel free to add your favorite candies, dried fruits, or different nuts to customize your treat.Is there a vegan version of Rocky Road Ice Cream?
Yes! Replace dairy with coconut cream and use vegan marshmallows and chocolate chips.What’s the best way to scoop hard ice cream?
Let the ice cream sit at room temperature for a few minutes before scooping, or use a warm scoop for ease.
Conclusion
There’s nothing quite like the joy of creating and enjoying your own homemade Rocky Road Ice Cream. Each bite envelops you in a cozy embrace of flavors and textures, summoning memories of laughter and celebration. So why not ignite your kitchen journey today? Gather your ingredients, embrace this step-by-step recipe, and create a marvelous dessert that brings smiles to everyone around you. It’s a delightful way to make everyday moments extraordinary with a scoop of Rocky Road!
Print
Rocky Road Ice Cream
- Total Time: 45
- Yield: 4 servings 1x
- Diet: Vegetarian
Description
Indulge in this delightful Rocky Road Ice Cream, blending rich chocolate, airy marshmallows, and crunchy nuts into a harmonious treat.
Ingredients
- 2 cups heavy cream
- 1 cup whole milk
- 3/4 cup granulated sugar
- 1 teaspoon vanilla extract
- 1/2 cup chocolate chips
- 1/2 cup mini marshmallows
- 1/2 cup chopped nuts (almonds, walnuts, or cashews)
Instructions
- Prepare a mixing bowl by combining the heavy cream, whole milk, granulated sugar, and vanilla extract.
- Whisk the mixture until the sugar dissolves.
- Pour the mixture into your ice cream maker and churn according to the manufacturer’s instructions (about 20-25 minutes).
- Add the chocolate chips, mini marshmallows, and chopped nuts in the last five minutes of churning.
- Transfer the soft-serve consistency ice cream into an airtight container.
- Freeze for at least four hours until firm.
- Scoop and enjoy your homemade Rocky Road Ice Cream!
Notes
For best results, chill your mixing bowl and ingredients before combining. Allow the ice cream to freeze thoroughly for easier scooping.
- Prep Time: 15
- Cook Time: 30
- Category: Dessert
- Method: Churning
- Cuisine: American
Nutrition
- Serving Size: 1 serving
- Calories: 350
- Sugar: 30g
- Sodium: 80mg
- Fat: 20g
- Saturated Fat: 12g
- Unsaturated Fat: 6g
- Trans Fat: 0g
- Carbohydrates: 45g
- Fiber: 2g
- Protein: 5g
- Cholesterol: 70mg


