
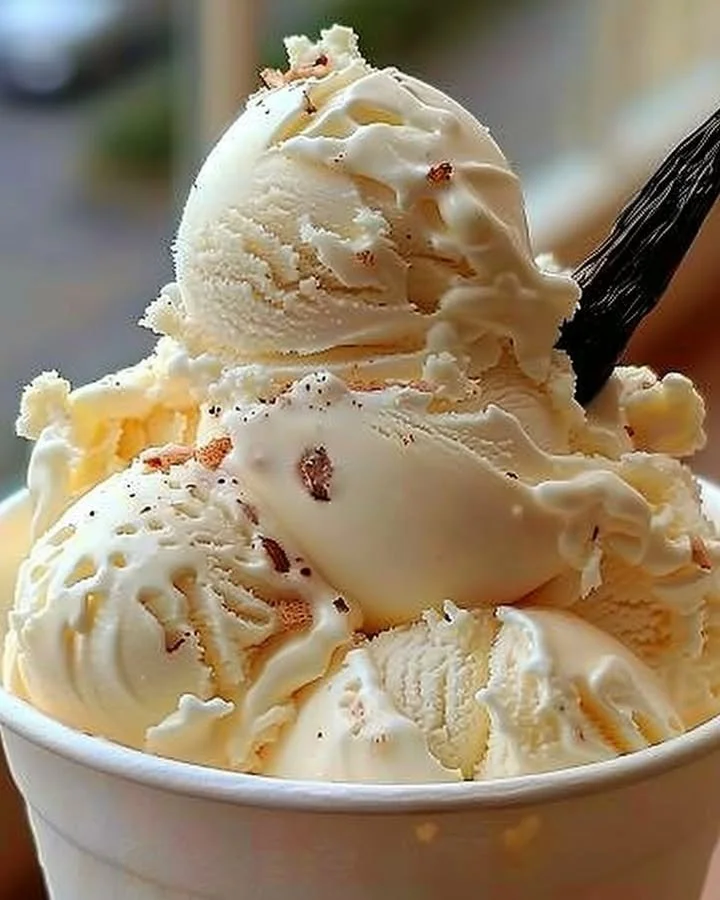
Homemade Vanilla Ice Cream is a timeless classic that brings the simple joys of life straight to your bowl. The smooth, creamy texture combined with the rich, aromatic flavor of vanilla makes it a delightful treat for all ages. Whether you’re enjoying it on a hot summer day, serving it with a warm slice of pie, or simply indulging on a cozy night in, this recipe is sure to conjure up nostalgia and happiness. Plus, it’s surprisingly easy to whip up in your kitchen, making it a must-try for anyone who appreciates the beauty of homemade desserts. In this post, I’ll guide you through a Step-by-Step process that will make you a vanilla ice cream master in no time!
Why You’ll Love This Recipe
One of the best aspects of this Homemade Vanilla Ice Cream recipe is its straightforward preparation and minimal ingredients, making it an ideal choice for beginner cooks and seasoned bakers alike. With just a handful of components, you can create a delicious and rich dessert that’s perfect for family gatherings, parties, or an intimate dessert at home. Not only is this ice cream a crowd-pleaser, but it also allows for creativity! You can enjoy it as is or customize it with your favorite toppings or mix-ins, satisfying everyone’s sweet tooth. Moreover, making ice cream at home brings an element of satisfaction and joy that ready-made versions simply can’t replicate.
Ingredients
To create your own Homemade Vanilla Ice Cream, you will need the following luxurious ingredients:
- 2 cups (480ml) heavy cream – for an ultra-rich and creamy texture that melts in your mouth.
- 1 cup (240ml) whole milk – gives your ice cream a luscious body and balances the creaminess.
- 3/4 cup (150g) granulated sugar – sweetens the mixture to perfection, elevating the vanilla flavor.
- 1 vanilla bean (or 2 tsp pure vanilla extract) – the star of the show, providing an aromatic and sophisticated essence.
- 4 large egg yolks – enriches your ice cream, giving it that signature custard-like consistency.
- A pinch of salt – enhances all the flavors, rounding out the sweetness beautifully.
Step-by-Step Directions
Begin by taking a medium saucepan and combining the heavy cream, whole milk, and granulated sugar. Heat this mixture over medium heat, stirring occasionally until it is hot but not boiling; this step is crucial to ensure the sugar dissolves completely.
Next, split the vanilla bean in half lengthwise with a sharp knife and scrape out the tiny seeds using the back of your knife. Add both the seeds and the empty pod to the saucepan. If you choose to use pure vanilla extract instead, you’ll add it after removing the saucepan from the heat.
In a separate mixing bowl, whisk the egg yolks with a small pinch of salt until they become pale and slightly thickened. This will help create a smooth custard base for your ice cream.
Gradually pour a small amount of the hot milk mixture into the egg yolks, whisking constantly. This technique, known as tempering, will help prevent the yolks from scrambling. Continue adding the milk mixture slowly, whisking until everything is fully combined.
Pour the egg mixture back into the saucepan with the remaining milk and cream mixture. Cook this over low heat, stirring constantly until it thickens slightly and coats the back of a spoon; this should reach about 170°F or 77°C.
Use a fine-mesh sieve to strain the custard into a clean bowl, which will remove the vanilla bean pod and any curdled bits. Let this custard cool to room temperature.
Once cooled, cover your bowl and refrigerate the custard for at least four hours, or preferably overnight. This step is essential to develop the overall flavor and texture of the ice cream.
After chilling, churn the custard in an ice cream maker according to the manufacturer’s instructions. This will help incorporate air into the mixture, ensuring a creamy end result.
Finally, transfer the freshly churned ice cream into an airtight container and freeze for about four hours or until firm. Your Homemade Vanilla Ice Cream is now ready to be enjoyed!
Tips & Tricks
To make your homemade ice cream even more special, consider these tips and tricks:
- Use Fresh Ingredients: High-quality heavy cream and milk will give you the best results. If you can source organic dairy, do it!
- Adding Flavor Mix-ins: Once the ice cream is churned, feel free to fold in chocolate chips, crushed cookies, or fresh fruit for a fun twist.
- Storage: If your ice cream becomes too hard in the freezer, let it sit at room temperature for a few minutes before scooping to soften.
Serving Suggestions & Pairings
When it comes to serving your Homemade Vanilla Ice Cream, the options are endless! Serve it in a chilled bowl alongside warm desserts like peach cobbler, brownies, or chocolate chip cookies. For a classic sundae, top with hot fudge, whipped cream, nuts, and a cherry on top. Alternatively, you could use this ice cream to create refreshing milkshakes or even floats. It’s also delightful sandwiched between two homemade cookies for an enticing ice cream sandwich treat!
Nutritional Information
While the exact nutritional content can vary depending on specific brands and ingredient choices, here is an approximate overview:
- Serving Size: 1/2 cup
- Calories: ~250
- Total Fat: 15g
- Saturated Fat: 9g
- Carbohydrates: 26g
- Sugars: 22g
- Protein: 3g
It’s worth noting that while this recipe is indulgent, moderation is key to maintaining a balanced diet while enjoying treats like this.
Storing Tips & Variations
To store your Homemade Vanilla Ice Cream, make sure it’s in an airtight container to prevent freezer burn. If stored properly, it can last for up to two weeks in your freezer. For variations, think about swapping the vanilla bean for different flavors. Consider using fresh mint leaves for mint chocolate chip or adding a dash of espresso powder for a coffee-flavored ice cream.
Conclusion
Homemade Vanilla Ice Cream is not only a treat for your taste buds but also a celebration of the simple pleasures in life. I encourage you to gather your ingredients and try this delightful recipe at home. It’s easy, rewarding, and bound to create memories filled with sweetness and joy. Don’t forget to share your experience in the comments below – I’d love to know how your homemade ice cream turned out!
FAQs
Can I use a different type of milk?
Yes! You can substitute whole milk with low-fat milk or even alternatives like almond milk, though it may affect the creaminess.Is it necessary to use vanilla beans?
While vanilla beans offer an incredible depth of flavor, pure vanilla extract is a fantastic alternative if you cannot find beans.What if I don’t have an ice cream maker?
No worries! You can place the custard in a freezer-safe container and stir every 30 minutes until it reaches your desired consistency, though it will take longer to freeze.How can I make this dairy-free?
Substitute the heavy cream and whole milk with full-fat coconut milk or any dairy-free cream alternatives. The flavor will be different but still delicious!Can I add mix-ins like fruit or chocolate chips?
Absolutely! Just add them after churning and mix gently before transferring to the freezer for optimal texture and distribution.


