
Homemade Cherry Vanilla Ice Cream
Imagine a sweltering summer afternoon where the sun casts golden rays while you sit on your porch, exhilarated by the sweetness of life around you. Enter Homemade Cherry Vanilla Ice Cream—a dessert that paints the early afternoon with vibrant hues of cherry red and creamy white. The aroma of vanilla wafts through the air, beckoning you to delve into a world of rich, velvety textures. This recipe is your step-by-step guide to achieving creamy perfection, a quintessential favorite that evokes smiles and memories alike, making each scoop a delightful experience.
History / Fun Fact
The delightful combination of cherry and vanilla in ice cream is believed to be as old as the dessert itself. Ice cream originated in ancient China, where a mix of milk and rice was frozen in snow. But the journey truly blossomed in the 18th century when European settlers brought ice cream to America. Cherry ice cream, utilizing fresh, local ingredients, gained immense popularity in the U.S. during the 19th century, particularly with the advent of hand-cranked ice cream makers that made the process more accessible. Today, it remains a symbol of summer joy, promising laughter and connection with every bite.
Ingredients
To make this dreamy Homemade Cherry Vanilla Ice Cream, gather the following ingredients that reflect the warmth of home and the joy of summer: 2 cups of heavy cream, rich and velvety; 1 cup of whole milk, perfectly smooth; 3/4 cup of granulated sugar, sweet as a childhood memory; 1 tablespoon of vanilla extract, aromatic and inviting; 1 cup of fresh or frozen cherries, luscious and plump, pitted and chopped for textural delight; and 1/2 teaspoon of salt, enhancing all flavors. The optional addition of extra cherries for serving offers bursts of joy in every scoop. Remember, each of these ingredients embodies the essence of halal, ensuring peace of mind while indulging.
Cooking Time & Tips For Homemade Cherry Vanilla Ice Cream
When it comes to making Homemade Cherry Vanilla Ice Cream, you can choose between quick and slow preparation methods. Quick preparation involves using a high-quality ice cream maker, enabling you to enjoy your creation in just a few hours. On the other hand, slow preparation might involve allowing the flavors to develop overnight—this method results in a richer, deeper flavor profile.
For success, make sure your ice cream maker is well-chilled before using it. This crucial step ensures that the mixture freezes properly. Additionally, allowing the mixture to cool in the refrigerator for at least an hour enhances the flavor and texture. Always taste the mixture before freezing; it should be sweet yet balanced, inviting you to indulge.
Step-by-Step Directions
Let’s embark on this delicious journey! Begin by taking a large mixing bowl, and combine the rich, velvety heavy cream with the smooth, whole milk. Add in the sweet granulated sugar, followed by the aromatic vanilla extract and the essential sprinkle of salt. Embrace the moment as you stir the mixture, feeling the smoothness as the sugar dissolves entirely into the cream.
Next, fold in the tender, colorful chopped cherries, ensuring their juices are evenly distributed throughout the cream—this not only enhances the color but also guarantees that every bite is bursting with flavor. Now, transfer this luscious blend into your ice cream maker, following the manufacturer’s instructions.
As the ice cream churns, watch as it gradually transforms into a creamy delight, reaching a soft-serve consistency. When ready, carefully transfer the ice cream into an airtight container, sealing in the anticipation of the deliciousness to come. Place it in the freezer for at least four hours, or until firm, giving you just enough time to dream about the first scoop.
Serving Suggestions & Occasions
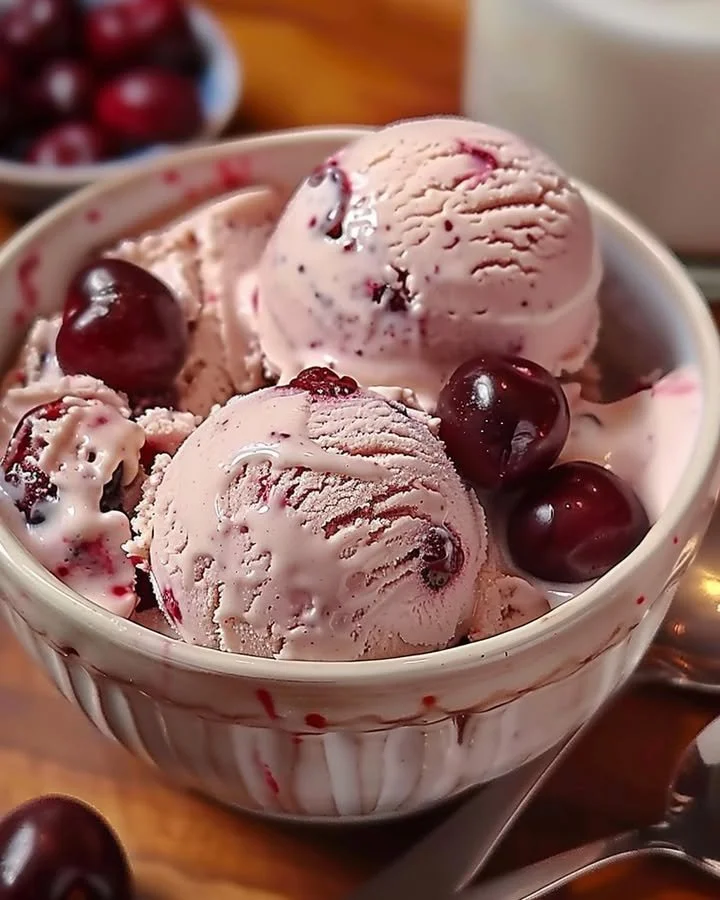
Homemade Cherry Vanilla Ice Cream is perfect for various occasions—birthday parties, summer barbecues, or cozy family gatherings. Serve it up in elegant bowls, topped with extra cherries for an added aesthetic appeal. Pair it with warm desserts like brownies or pie for a sensational contrast of temperatures and textures. You could also embrace a more nostalgic feel by serving it in classic waffle cones, taking your taste buds back to childhood memories on childhood outings.
Common Mistakes For Homemade Cherry Vanilla Ice Cream
While preparing your delightful Homemade Cherry Vanilla Ice Cream, beware of a few common pitfalls. One mistake is not chilling the mixture before churning; colder mixtures freeze better and lead to creamier results. Also, avoid adding too many cherries or not enough, as both can disrupt balance—too many may create icy chunks, while too few limit flavor. Lastly, ensure the ice cream is stored properly; any exposure to air can lead to freezer burn, compromising that silky texture.
Healthier Alternatives & Variations
If you’re on the lookout for healthier alternatives, consider replacing heavy cream with coconut milk or a blend of yogurt and almond milk. For a lower sugar option, try using agave syrup or honey. And, if you want to explore variations, experiment with other fruits like raspberries or peaches, or even incorporate grated dark chocolate for a luxurious touch. Each variation allows you to craft a new experience while keeping the essence of that creamy satisfaction.
FAQs
Can I use frozen cherries for this recipe?
Yes, frozen cherries work perfectly! Just ensure they are pitted and thawed before chopping.Can I make this ice cream without an ice cream maker?
Absolutely! Pour the mixture into a baking dish and freeze it, stirring every 30 minutes for the first few hours to break up ice crystals.How long will the ice cream last in the freezer?
Homemade Cherry Vanilla Ice Cream can last for about 2-3 weeks when stored properly in an airtight container.Can I add other flavors to this recipe?
Yes, feel free to experiment! A hint of almond extract or a swirl of chocolate can enhance flavors beautifully.How can I make this ice cream dairy-free?
Substitute the heavy cream and milk with chilled coconut cream and almond milk for a delightful dairy-free treat.What do I do if my ice cream is too hard?
Let it sit at room temperature for 5-10 minutes before scooping to soften, making it easier to serve.
Conclusion
There’s something undeniably magical about Homemade Cherry Vanilla Ice Cream—it’s more than just a dessert; it’s an experience, a moment captured in each creamy scoop. With the sweet, tart flavor of cherries dancing among the aromatic embrace of vanilla, every bite brings joy and satisfaction. Ready to indulge? Grab those ingredients and ice cream maker; your next unforgettable summer moment awaits!
Print
Homemade Cherry Vanilla Ice Cream
- Total Time: 255 minutes
- Yield: 4 servings 1x
- Diet: Vegetarian
Description
A delightful and creamy Homemade Cherry Vanilla Ice Cream that combines fresh cherries and rich vanilla, evoking summer joy with every scoop.
Ingredients
- 2 cups of heavy cream
- 1 cup of whole milk
- 3/4 cup of granulated sugar
- 1 tablespoon of vanilla extract
- 1 cup of fresh or frozen cherries, pitted and chopped
- 1/2 teaspoon of salt
- Extra cherries for serving (optional)
Instructions
- Combine the heavy cream and whole milk in a large mixing bowl.
- Add the granulated sugar, vanilla extract, and salt, stirring until fully dissolved.
- Fold in the chopped cherries, distributing their juices throughout the mixture.
- Transfer the mixture to your ice cream maker and churn according to the manufacturer’s instructions.
- Once it reaches a soft-serve consistency, move it to an airtight container.
- Freeze for at least 4 hours until firm.
Notes
For the best flavor, chill the mixture before churning and feel free to experiment with different fruits or add-ins.
- Prep Time: 15 minutes
- Cook Time: 240 minutes
- Category: Dessert
- Method: Churning
- Cuisine: American
Nutrition
- Serving Size: 1 serving
- Calories: 300
- Sugar: 35g
- Sodium: 150mg
- Fat: 20g
- Saturated Fat: 12g
- Unsaturated Fat: 6g
- Trans Fat: 0g
- Carbohydrates: 36g
- Fiber: 1g
- Protein: 3g
- Cholesterol: 80mg


