
This incredibly easy no churn vanilla ice cream recipe delivers pure, creamy bliss without requiring any special equipment.
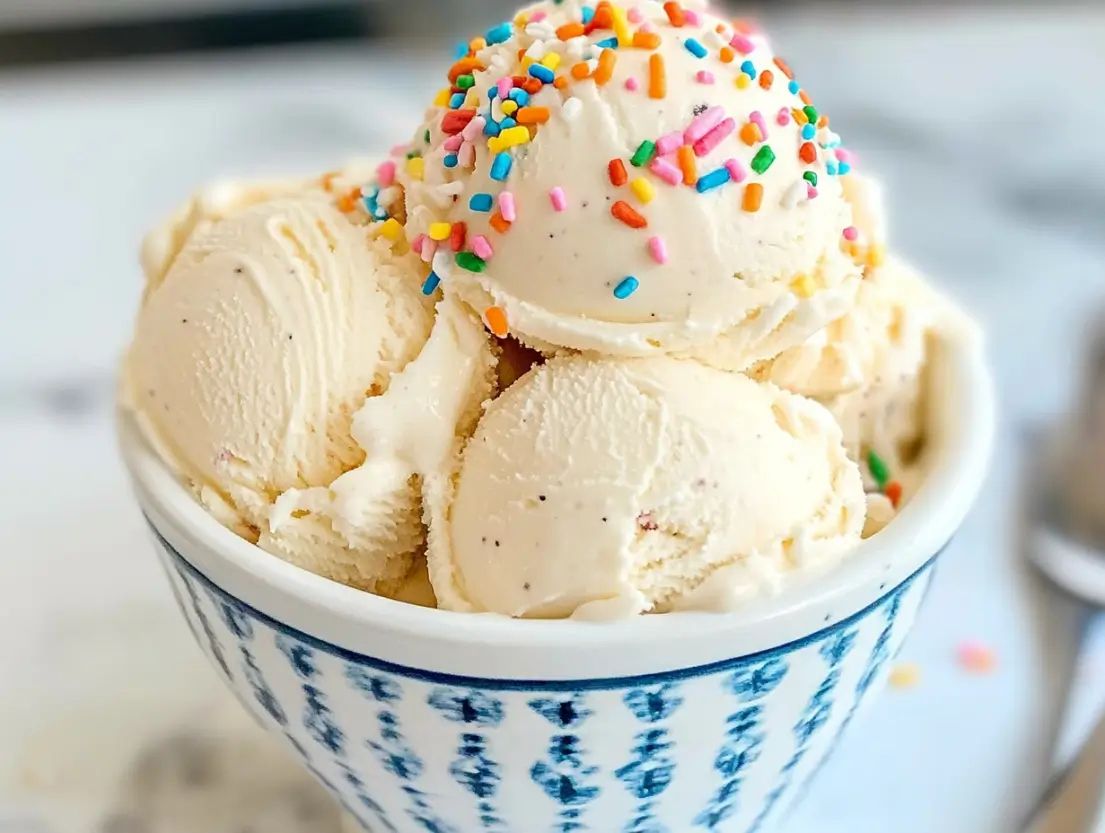
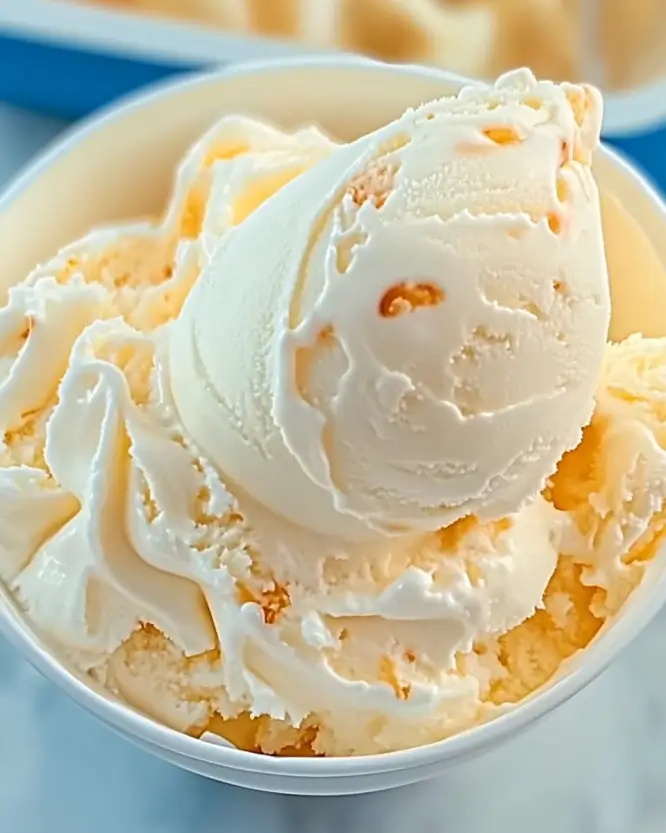
Imagine scooping perfectly smooth, intensely flavored homemade ice cream, speckled with real vanilla bean, knowing you whipped it up with minimal effort. It is the ultimate sweet treat, a truly simple way to create luxurious, homemade vanilla ice cream no churn style, perfect for satisfying any dessert craving.
Get ready to experience the simple magic of turning a few basic ingredients into a frozen masterpiece. This method ensures a wonderfully rich texture every single time, making it a go-to easy dessert.
Craving Pure Vanilla Perfection Without the Fuss?
Do you dream of velvety, rich vanilla bean ice cream, the kind that melts luxuriously on your tongue, but dread the thought of churning or complicated machinery? What if you could achieve that perfect scoopable texture and deep vanilla flavor using just a bowl, a whisk, and your freezer? This dreamy, easy no churn vanilla ice cream is your answer.
Ingredients: The Heart of Creaminess
Gather these simple, yet transformative ingredients. Each one plays a crucial role in creating the final, fantastic texture and flavor.
Think of the heavy cream as the cold, pristine canvas, ready to be whipped into airy clouds. The sweetened condensed milk is the magical shortcut, providing sweetness and the perfect creamy base without needing a custard. And the vanilla bean paste.
those precious flecks promise an authentic, deeply aromatic vanilla experience that extract alone cannot quite replicate.
| Ingredient | Quantity | Sensory/Emotional Hook |
|---|---|---|
| Heavy Whipping Cream | 2 cups (480ml) | Cold, pure, ready to transform into billowy peaks |
| Sweetened Condensed Milk | 1 can (14 oz) | Thick, sweet liquid gold; the key to no-churn magic |
| Vanilla Bean Paste | 1-2 tsp | Intense aroma, beautiful specks, pure vanilla essence |
| Pure Vanilla Extract | 1 tsp | Boosts and rounds out the vanilla flavor profile |
| Salt | Pinch | Balances sweetness, enhances overall flavor |
Timing: Effortless Prep, Luxurious Freeze
One of the most beautiful aspects of this homemade vanilla ice cream no churn recipe is its efficiency.
- Active Prep Time: 10-15 minutes. A fleeting moment of whipping and folding stands between you and frozen delight. This is fast and indulgent preparation at its finest.
- Freezing Time: 6-8 hours, or preferably overnight. This is the slow and luxurious part. Patience rewards you with perfectly firm, scoopable, creamy no churn vanilla ice cream. While the freezer does the work, anticipate the incredible treat waiting for you.
Step-by-Step to Dreamy no churn vanilla ice cream
Chill Your Foundation
Begin by ensuring your tools are cold. Place your mixing bowl and whisk (or stand mixer attachments) in the freezer for about 15-20 minutes before you start. A chilled bowl helps the cream whip up faster and achieve greater volume, crucial for that light, airy texture characteristic of the best no churn vanilla ice cream.
Whip the Cream to Perfection
Pour the very cold heavy whipping cream into your chilled bowl. Using an electric mixer (handheld or stand mixer with whisk attachment) or a strong arm and a whisk, beat the cream on medium-high speed. Watch closely. You are looking for soft, pillowy peaks to form.
This means when you lift the whisk, the peak holds its shape but the tip gently curls over. Avoid over-whipping into stiff peaks, which can make the final ice cream slightly greasy or buttery.
Gently Combine Sweetness and Flavor
In a separate, large bowl, whisk together the sweetened condensed milk, vanilla bean paste, pure vanilla extract, and the pinch of salt until thoroughly combined. Marvel at the thick, sweet base dotted with beautiful vanilla bean specks.
This mixture is the heart of your easy no churn vanilla ice cream flavor.
Fold with Care for Ultimate Creaminess
Now, introduce about one-third of the whipped cream into the condensed milk mixture. Gently fold it in using a spatula. Use large, deliberate strokes, scraping down the sides and bringing the mixture up from the bottom.
The goal is to lighten the condensed milk base without deflating the whipped cream too much. Once incorporated, gently fold in the remaining whipped cream in two more additions until just combined and no streaks remain.
Be careful not to overmix; you want to retain as much air as possible for that signature creamy texture.
Freeze to Frosty Perfection
Carefully pour the velvety, cloud-like mixture into a freezer-safe container, preferably a loaf pan (metal chills faster) or any container with a lid, approximately 9×5 inches or a similar size. Smooth the top with your spatula.
Cover the surface directly with plastic wrap or parchment paper, gently pressing it down to prevent ice crystals from forming. Then, seal the container tightly with its lid or another layer of plastic wrap followed by foil.
Place it in the coldest part of your freezer. Freeze for at least 6 hours, but overnight is ideal for the creamiest, firmest result.
This waiting period is essential for achieving that perfect homemade ice cream no churn texture.
Nutritional Information: A Sweet Indulgence
Like most traditional ice creams, this no-churn version is an indulgent treat.
A typical serving (around 1/2 cup) will contain approximately 250-350 calories, depending on the specific brands of cream and condensed milk used. It is rich in fat and sugar, making it a perfect dessert for special occasions or when your sweet tooth truly calls.
Remember, homemade goodness is about enjoyment, and sometimes, that means embracing the occasional, purely delightful indulgence. This easy dessert is worth it.
Healthier Alternatives: Lighter Options
While the classic recipe is divine, you can make some adjustments for dietary needs or preferences.
- Lower Sugar: Look for lower-sugar sweetened condensed milk options, or experiment with making your own using alternative sweeteners, though texture may vary slightly. You could also reduce the amount of condensed milk slightly, but this will impact both sweetness and the final creamy texture.
- Dairy-Free / Vegan: Swap the heavy whipping cream for a high-fat, chilled coconut cream (the thick part from a can of full-fat coconut milk refrigerated overnight). Use a dairy-free sweetened condensed milk alternative, often made with coconut or oat milk. The flavor profile will shift towards coconut, but it creates a delicious dairy-free no churn ice cream.
Serving Suggestions: Elevate Your Scoop
This glorious no churn vanilla bean ice cream is spectacular on its own, revealing its pure, unadulterated flavor. However, it also serves as a perfect canvas.
- Classic Pairings: Serve alongside warm apple pie, decadent chocolate lava cakes, fudgy brownies, or fruit cobblers. A scoop melting over a warm dessert is pure bliss.
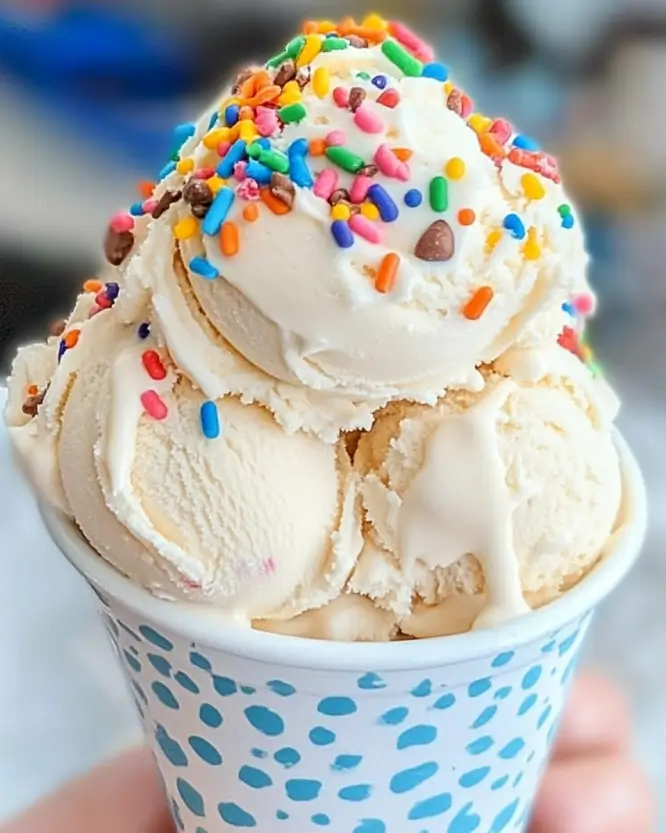
- Sundae Creations: Drizzle with hot fudge, salted caramel sauce, or berry coulis. Top with whipped cream, chopped nuts, sprinkles, and a cherry.
- Holiday Treat Star: Feature it as part of a festive dessert spread. Its simplicity allows it to complement richer holiday flavors beautifully. Serve it with gingerbread cookies or alongside a slice of pumpkin pie.
- Affogato Style: Pour a shot of hot, strong espresso or coffee over a scoop for a simple, elegant Italian-inspired dessert.
Common Mistakes to Avoid
Achieving perfectly creamy no churn ice cream is easy, but a few pitfalls can affect the texture.
- Under-Whipping the Cream: If the cream isn’t whipped to soft peaks, the ice cream won’t be as light and airy, potentially feeling denser.
- Over-Whipping the Cream: Whipping to stiff peaks or beyond can make the fat globules separate slightly, leading to a slightly greasy or buttery mouthfeel after freezing.
- Over-Mixing When Folding: Vigorously stirring or mixing deflates the whipped cream, resulting in a denser, potentially icier final product. Gentle folding is key.
- Improper Freezing Container/Sealing: Not covering the surface directly with plastic wrap or parchment allows ice crystals to form on top, creating an unpleasant icy layer. Ensure the container is sealed tightly to prevent freezer burn and absorption of other freezer odors.
- Not Freezing Long Enough: Impatience leads to soft-serve consistency. For firm, scoopable ice cream, allow the full 6-8 hours or overnight freeze.
Storing Tips: Keep it Creamy
Proper storage ensures your homemade vanilla ice cream no churn delight stays delicious.
- Airtight Container: Store the ice cream in a freezer-safe, airtight container.
- Prevent Ice Crystals: Keep the plastic wrap or parchment pressed directly onto the surface of the ice cream even after opening and re-closing.
- Optimal Temperature: Store it in the main part of your freezer, not the door, where temperatures fluctuate more.
- Enjoy Promptly: For the best texture and flavor, enjoy your homemade ice cream within 1-2 weeks. While it can last longer, the texture may gradually become icier over extended periods. Reheating is not applicable to ice cream.
Make This Dreamy Dessert Today
Why wait for a special occasion or an ice cream truck? You are mere minutes of active prep away from crafting the most luscious, creamy, and deeply flavorful no churn vanilla bean ice cream imaginable. It is the perfect easy dessert solution to satisfy your sweet tooth, impress guests, or simply treat yourself to a moment of pure, frozen happiness. Gather your ingredients and prepare to be amazed by the simplicity and deliciousness of this recipe.
Frequently Asked Questions: no churn vanilla ice cream
- Can I use low-fat condensed milk or fat-free cream? Unfortunately, the fat content in both the heavy cream and regular sweetened condensed milk is crucial for the creamy, rich texture of no-churn ice cream. Using lower-fat versions will likely result in an icier, less satisfying texture.
- Can I add mix-ins like chocolate chips or cookie dough? Absolutely. Gently fold in your desired mix-ins during the final folding stage, just before transferring the mixture to the freezer container. Think chocolate chips, chopped cookies, caramel swirls, or berry compote ribbons.
- How long does homemade no churn ice cream last? When stored properly in an airtight container with plastic wrap against the surface, it should maintain good quality for about 1-2 weeks in the freezer.
- Can I make this recipe without vanilla bean paste? Yes, you can substitute the vanilla bean paste entirely with pure vanilla extract. Use 2-3 teaspoons of high-quality pure vanilla extract instead of the paste and extract combination listed. You will miss the visual appeal of the beans, but the vanilla flavor will still be delicious.
- Can I freeze the ice cream mixture in individual portions? Yes, you can freeze the ice cream in smaller, single-serving airtight containers or even silicone molds. Freezing time may be slightly shorter for smaller portions. This is great for portion control or preparing individual treats.
No Churn Vanilla Ice Cream
- Total Time: 360 minutes
- Yield: 4 servings 1x
- Diet: Vegetarian
Description
This incredibly easy no churn vanilla ice cream recipe delivers pure, creamy bliss without requiring any special equipment.
Ingredients
- 2 cups (480ml) Heavy Whipping Cream
- 1 can (14 oz) Sweetened Condensed Milk
- 1–2 tsp Vanilla Bean Paste
- 1 tsp Pure Vanilla Extract
- Pinch of Salt
Instructions
- Chill mixing bowl and whisk in the freezer for 15-20 minutes.
- Beat the heavy cream in the chilled bowl on medium-high speed until soft peaks form.
- In a separate bowl, whisk together sweetened condensed milk, vanilla bean paste, pure vanilla extract, and salt until combined.
- Gently fold one-third of the whipped cream into the condensed milk mixture, then fold in the remaining whipped cream until just combined.
- Pour the mixture into a freezer-safe container, cover with plastic wrap, and freeze for at least 6 hours, preferably overnight.
Notes
For dairy-free options, use coconut cream and a dairy-free sweetened condensed milk alternative.
- Prep Time: 15 minutes
- Cook Time: 0 minutes
- Category: Dessert
- Method: Freezing
- Cuisine: American
Nutrition
- Serving Size: 1/2 cup
- Calories: 300
- Sugar: 22g
- Sodium: 100mg
- Fat: 18g
- Saturated Fat: 10g
- Unsaturated Fat: 8g
- Trans Fat: 0g
- Carbohydrates: 34g
- Fiber: 0g
- Protein: 4g
- Cholesterol: 75mg


